A garden is the cheapest way to get the best tasting, organic produce. Not having a particullarly green thumb, I decided to take a gardening class. It was a six week course by an amazing gardener, he has a masters in gardening and a book, it was such a good class, although a lot of it was over my head. But it motivated me to attempt to grow a big garden this year, so we expanded the garden to take up all of the available space that we have. We are following the steps in his book, and will update the blog on the progress and steps of gardening according to his method. The only draw back to our little garden is that we don't have a lot of sun, cross your fingers something grows!
Here is the steps to getting your gardening ready....
# 1. Fertilize
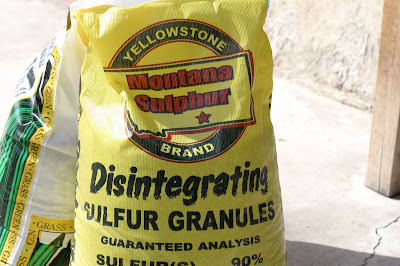
He recommends putting ironite, 16-16-8, and sulfur to fertilize your garden. 2 quarts of sulfur dioxide, and 1 quart of a mixture of ironite and 16-16-8 (2/3 of the jar 16-16-8, and 1/3 of the jar ironite) per 180 square feet. To find out how much you need to sprinkle on just find out the number of square feet of your garden and divide that by 180.


Step # 2
Sprinkle it on your garden area. Just like you are salting a steak he says, to give you the mental picture of how much. Don't over fertilize or you will kill your garden off. Stick to his recomendations.

Step #3
Till it into the dirt. We just borrow our neighbors tiller, but you might be able to rent one from a nursery, or IFA, not sure. Or maybe they are cheap enough to buy, or better yet just find a nice neighbor that has one to borrow.
 Step #4
Level off the space, and then make rows. We did 3 rows 28 inches apart and 3 rows 26 inches apart. Some plants require more growing room. Then make a furrow down the sides of the lines, with a hoe, so you have somewhere to walk that doesn't trample down your beds. I will post a pic of the rows.
Step #5
Plant, that is for next post, we haven't planted yet. We just ordered our seeds from Stoke seeds and are waiting for them to come in! In the class he gave us a list of the best varieties to plant, that produce the most, and are the hardiest. When we get them I will post what we ordered.


 Step #3


 Step #4


